
How to Style the Perfect Flat Lay

Oh hello, friends! Let’s talk about flat lays!
Props, styling, lighting, backgrounds and editing have played such a huge role for me when it comes to styling a flat lay. I used to think it was such an easy thing to do, but it’s actually quite a complex process of trial and error. Definitely takes a ton of patience to do!
So I thought it would be a fun idea to share my tips and tricks on how to style the perfect flat lay.
Background
The most crucial and starting point to creating a great flat lay.
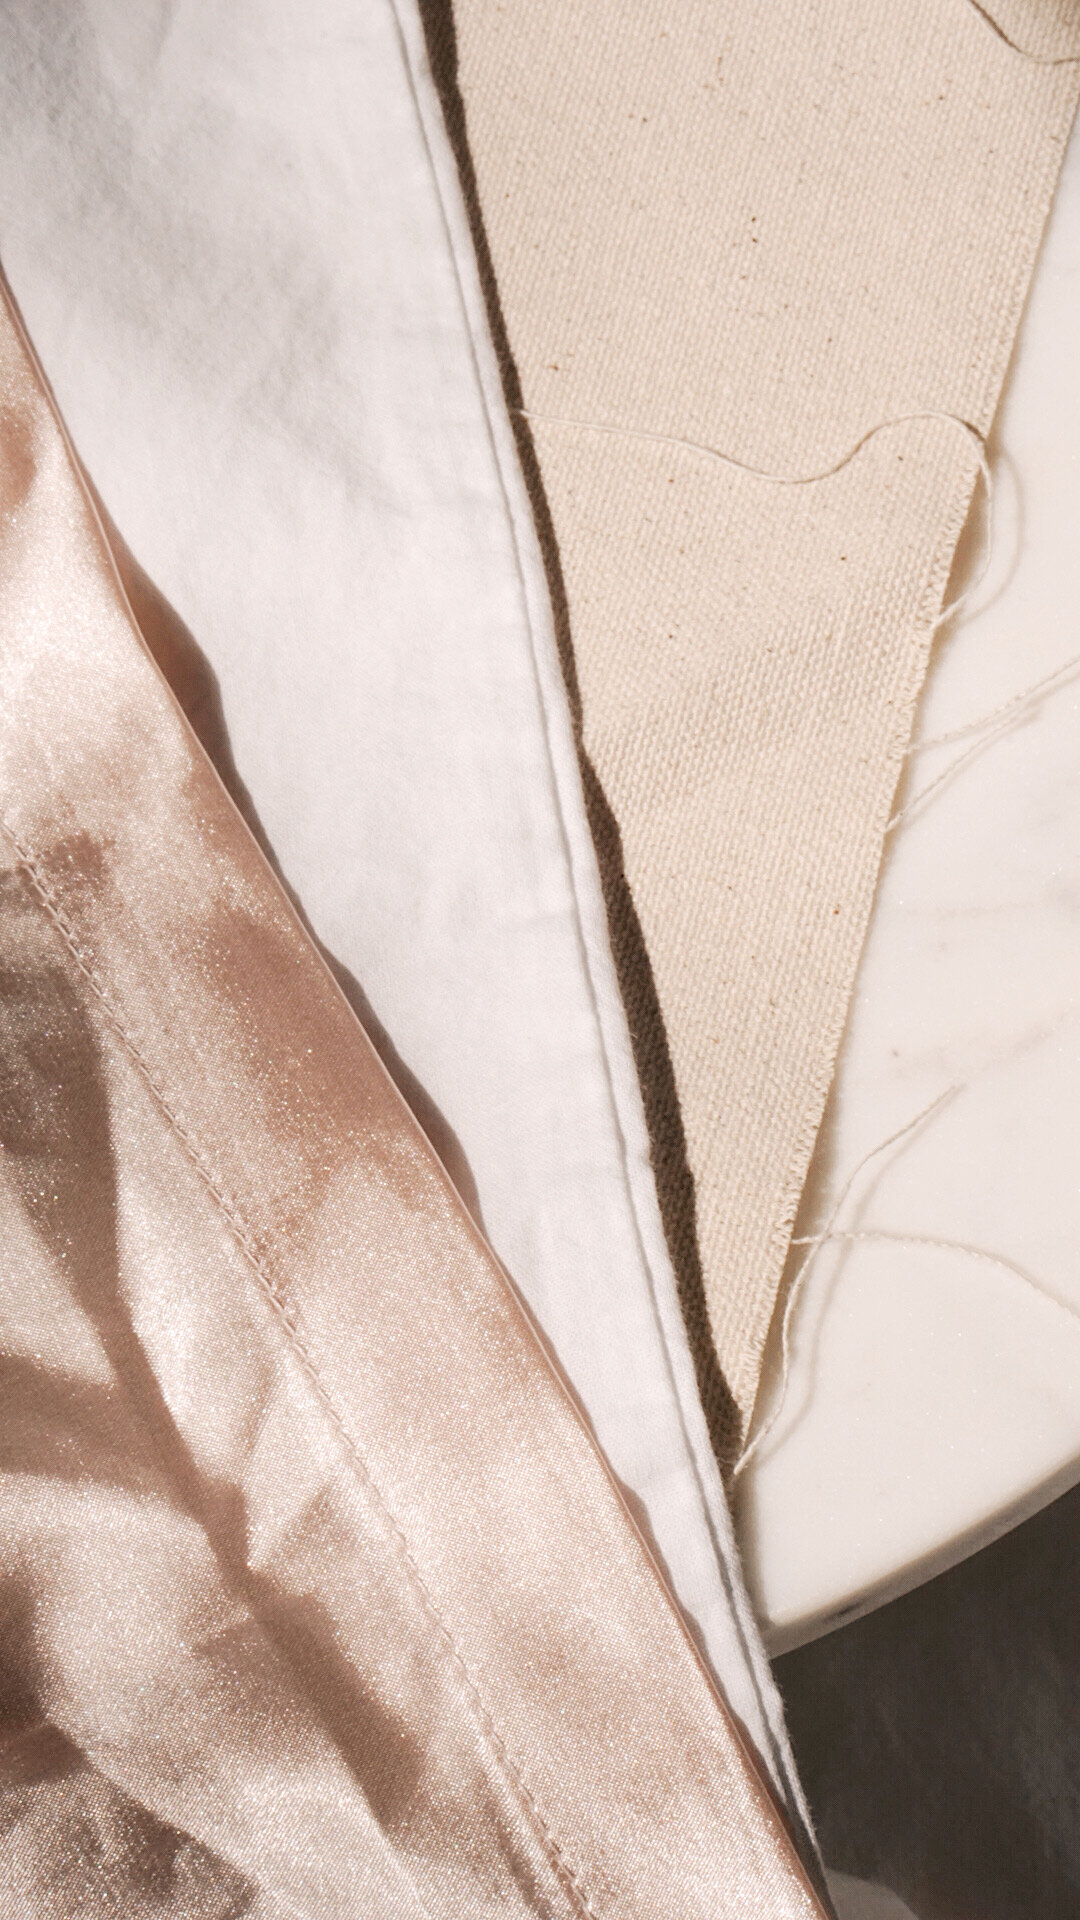
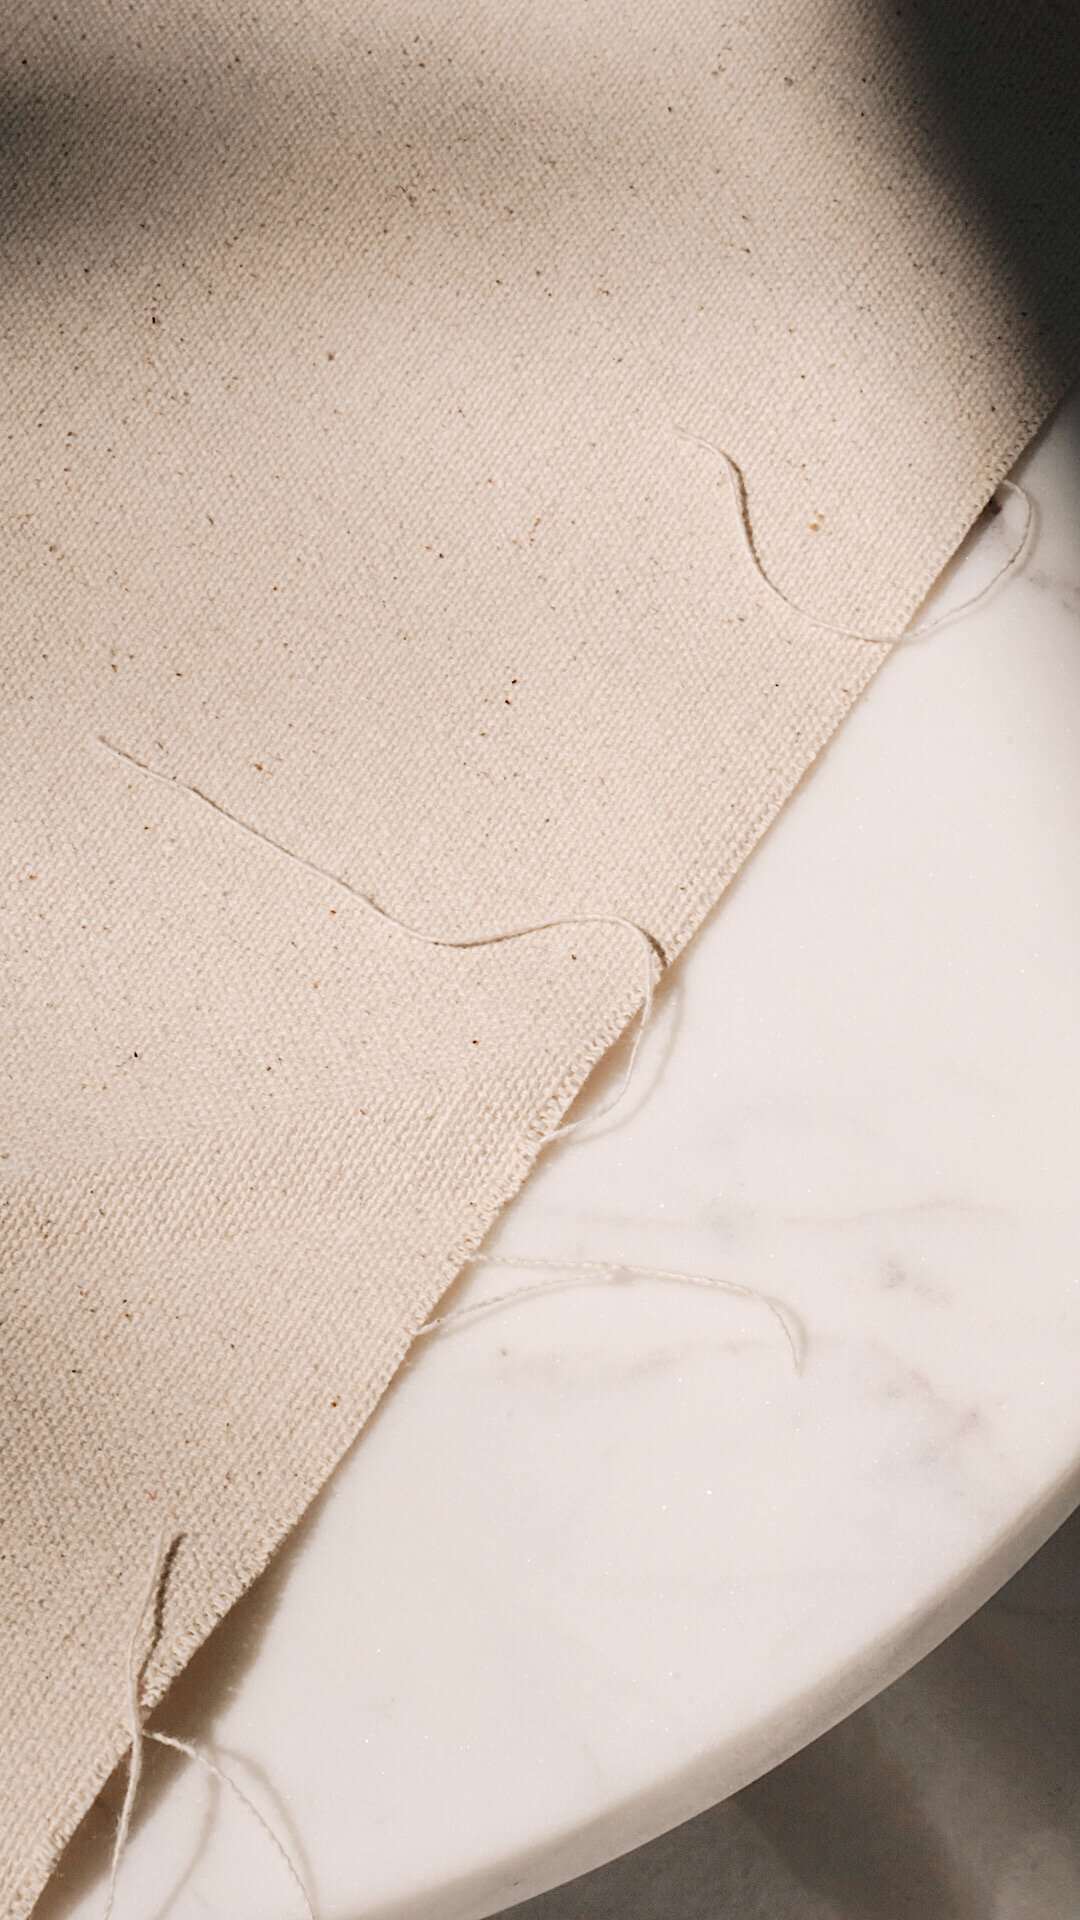
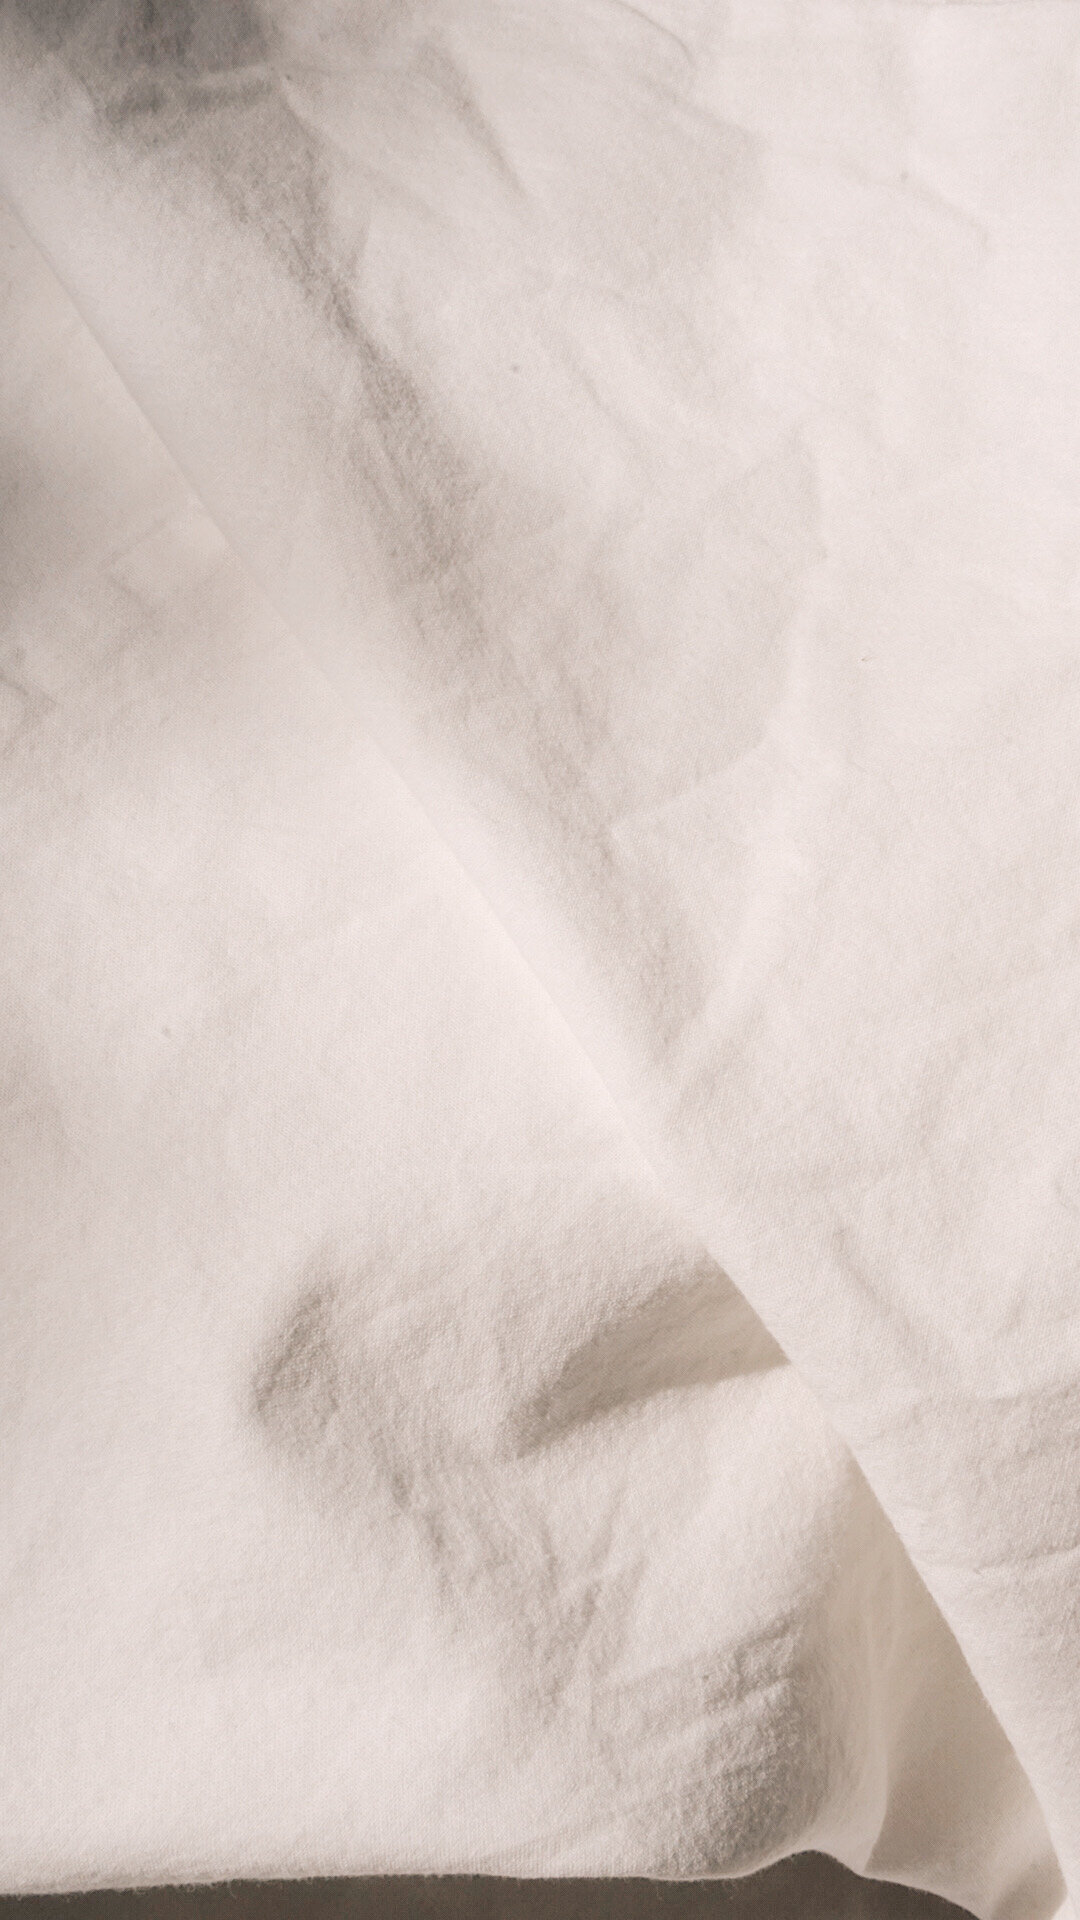
There are so many different options you can use for your background! When I first started creating flat lays, I used my white fuzzy robe!! Super simple, easy and didn’t have to purchase something new!
Now I use white linen pillow cases or bedsheets for a comfy, dreamy and airy look, a pink satin robe for a lush vibe, my fave marble tray or marble stand for something more minimal, chic yet luxurious and classic.
But let’s be real! You can use anything really! From plain white poster paper from Michaels to curtains, sheets, towels, peel and stick backsplashes, clothing, tables, your floors and the list goes on and on. Any small or large surface area will do the trick!
Something super important when looking for a background is thinking about an aesthetic that works for you! I personally love using bright, clean, neutral backgrounds for my flat lays. I try to avoid dark colors, busy patterns or any backgrounds that clash with the color scheme/palette I would be working with. Just an extra step to help avoid distractions and compete with the products I’m trying to showcase.
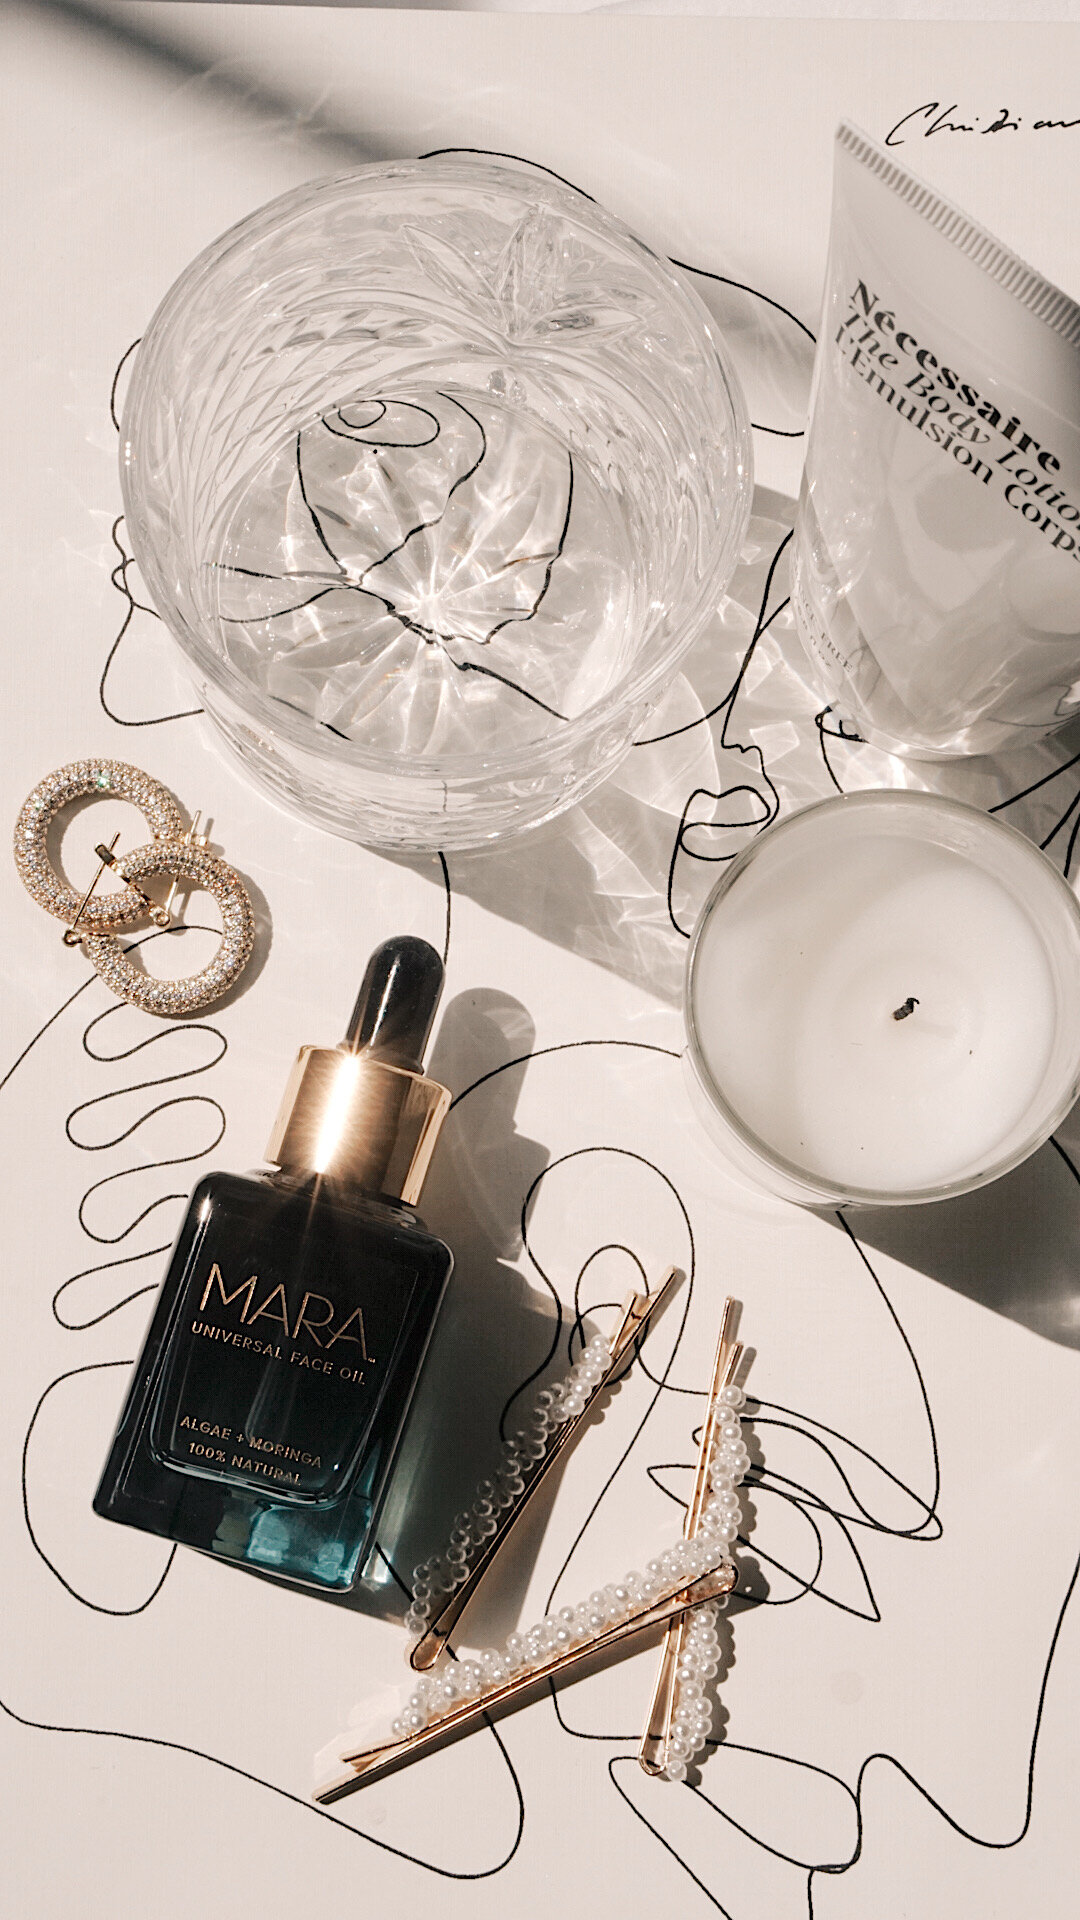
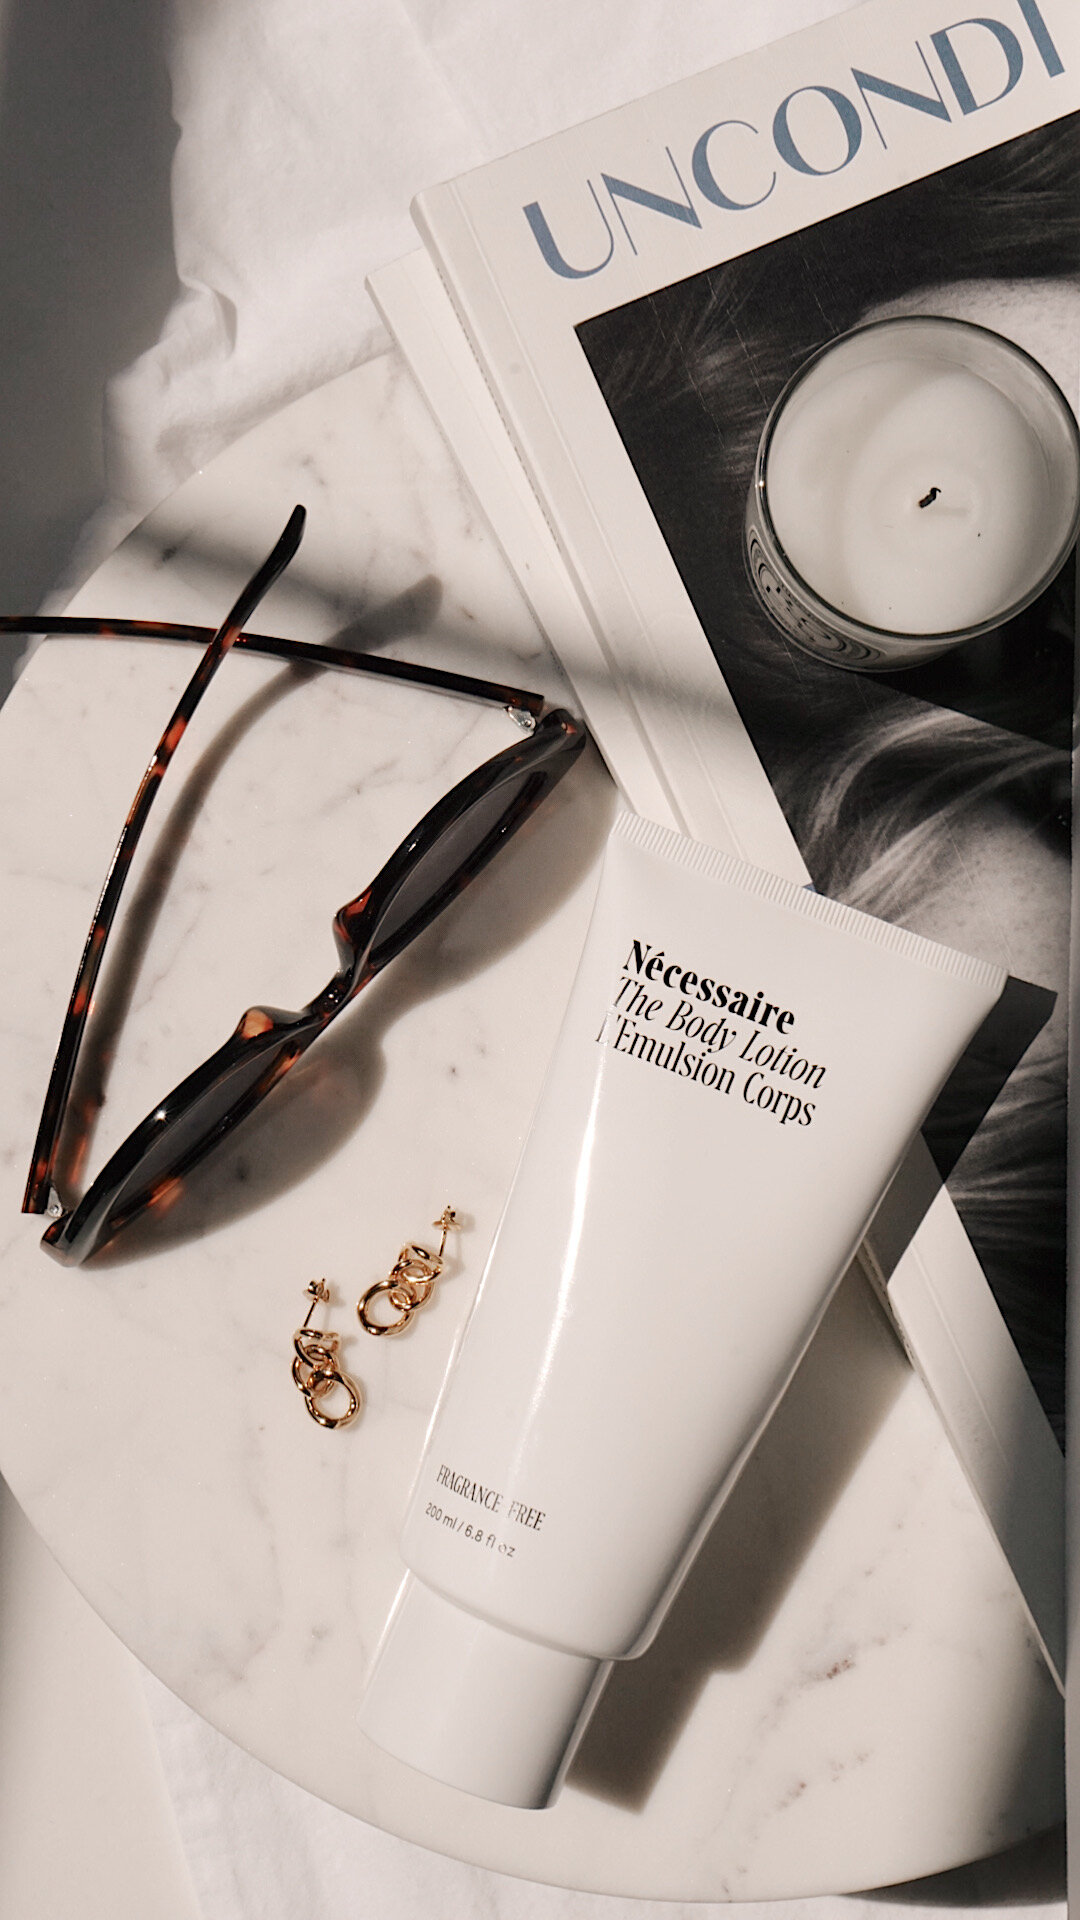
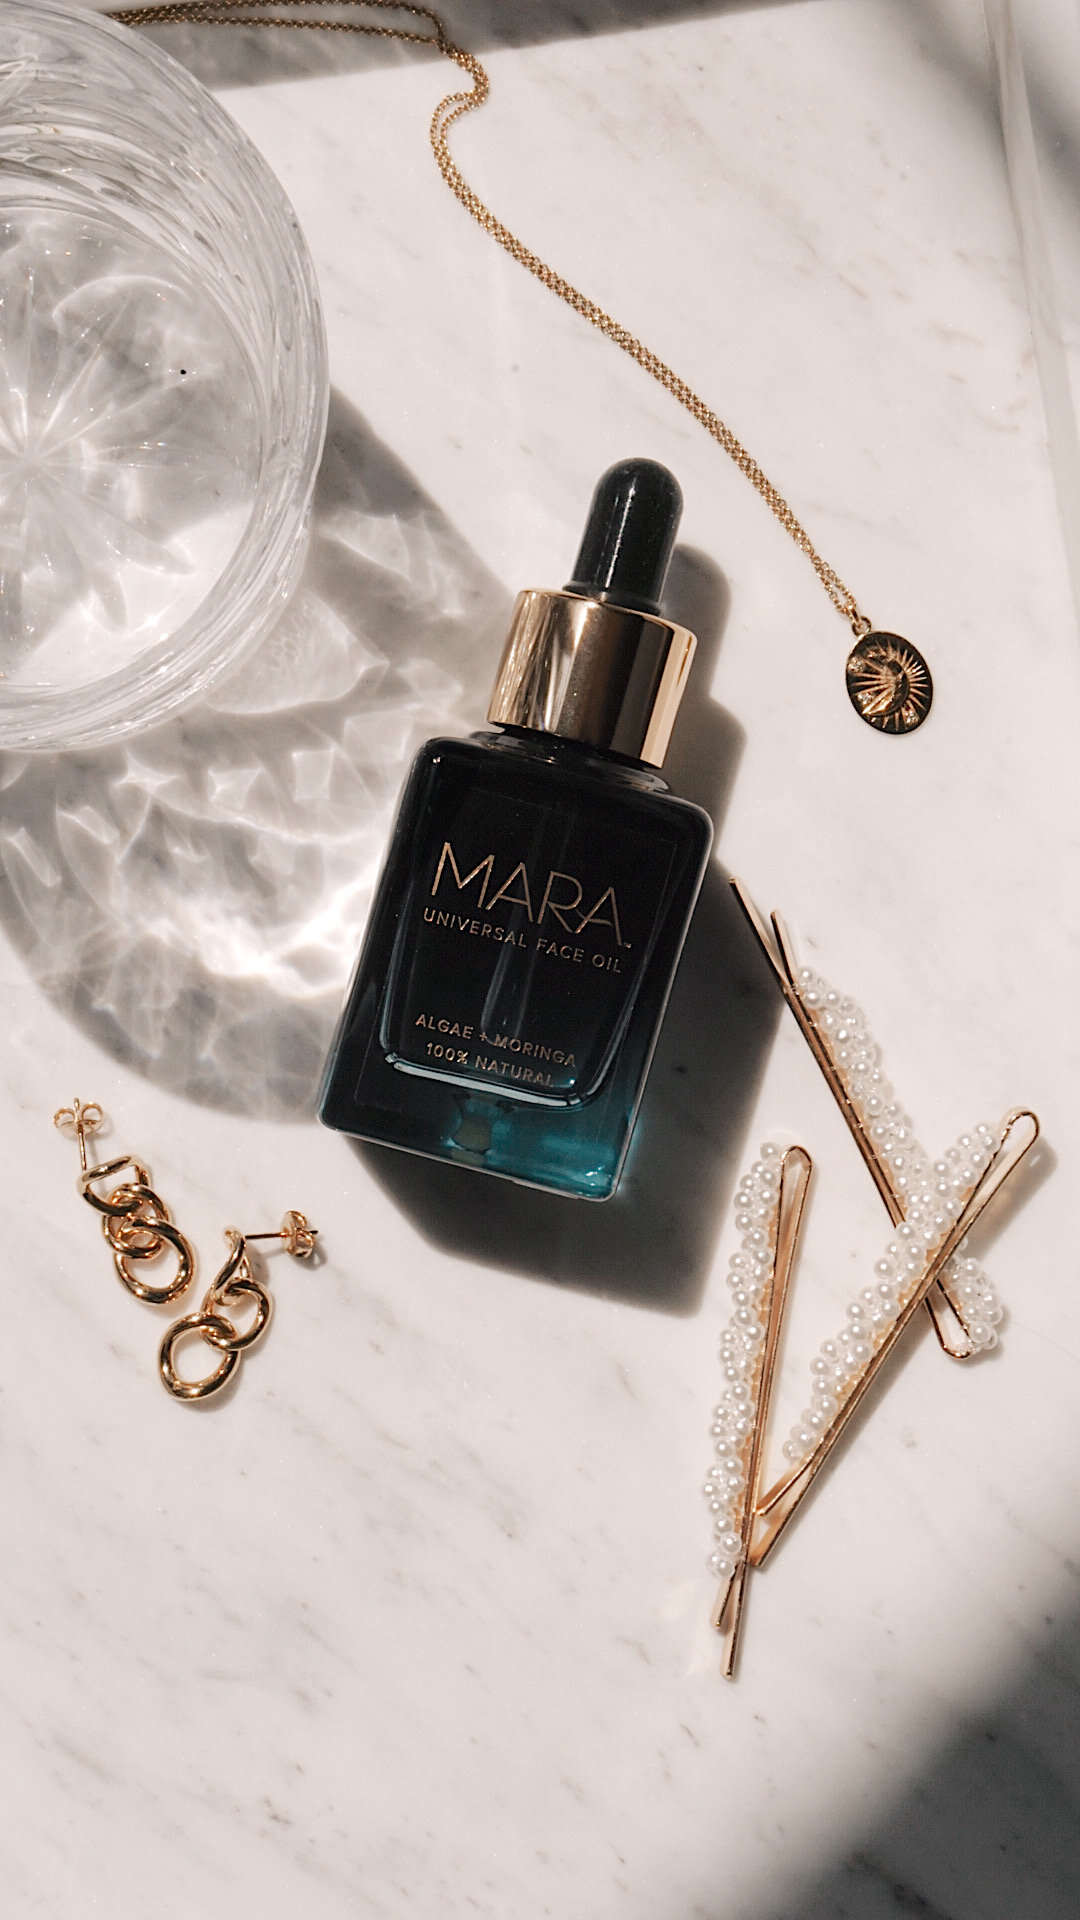
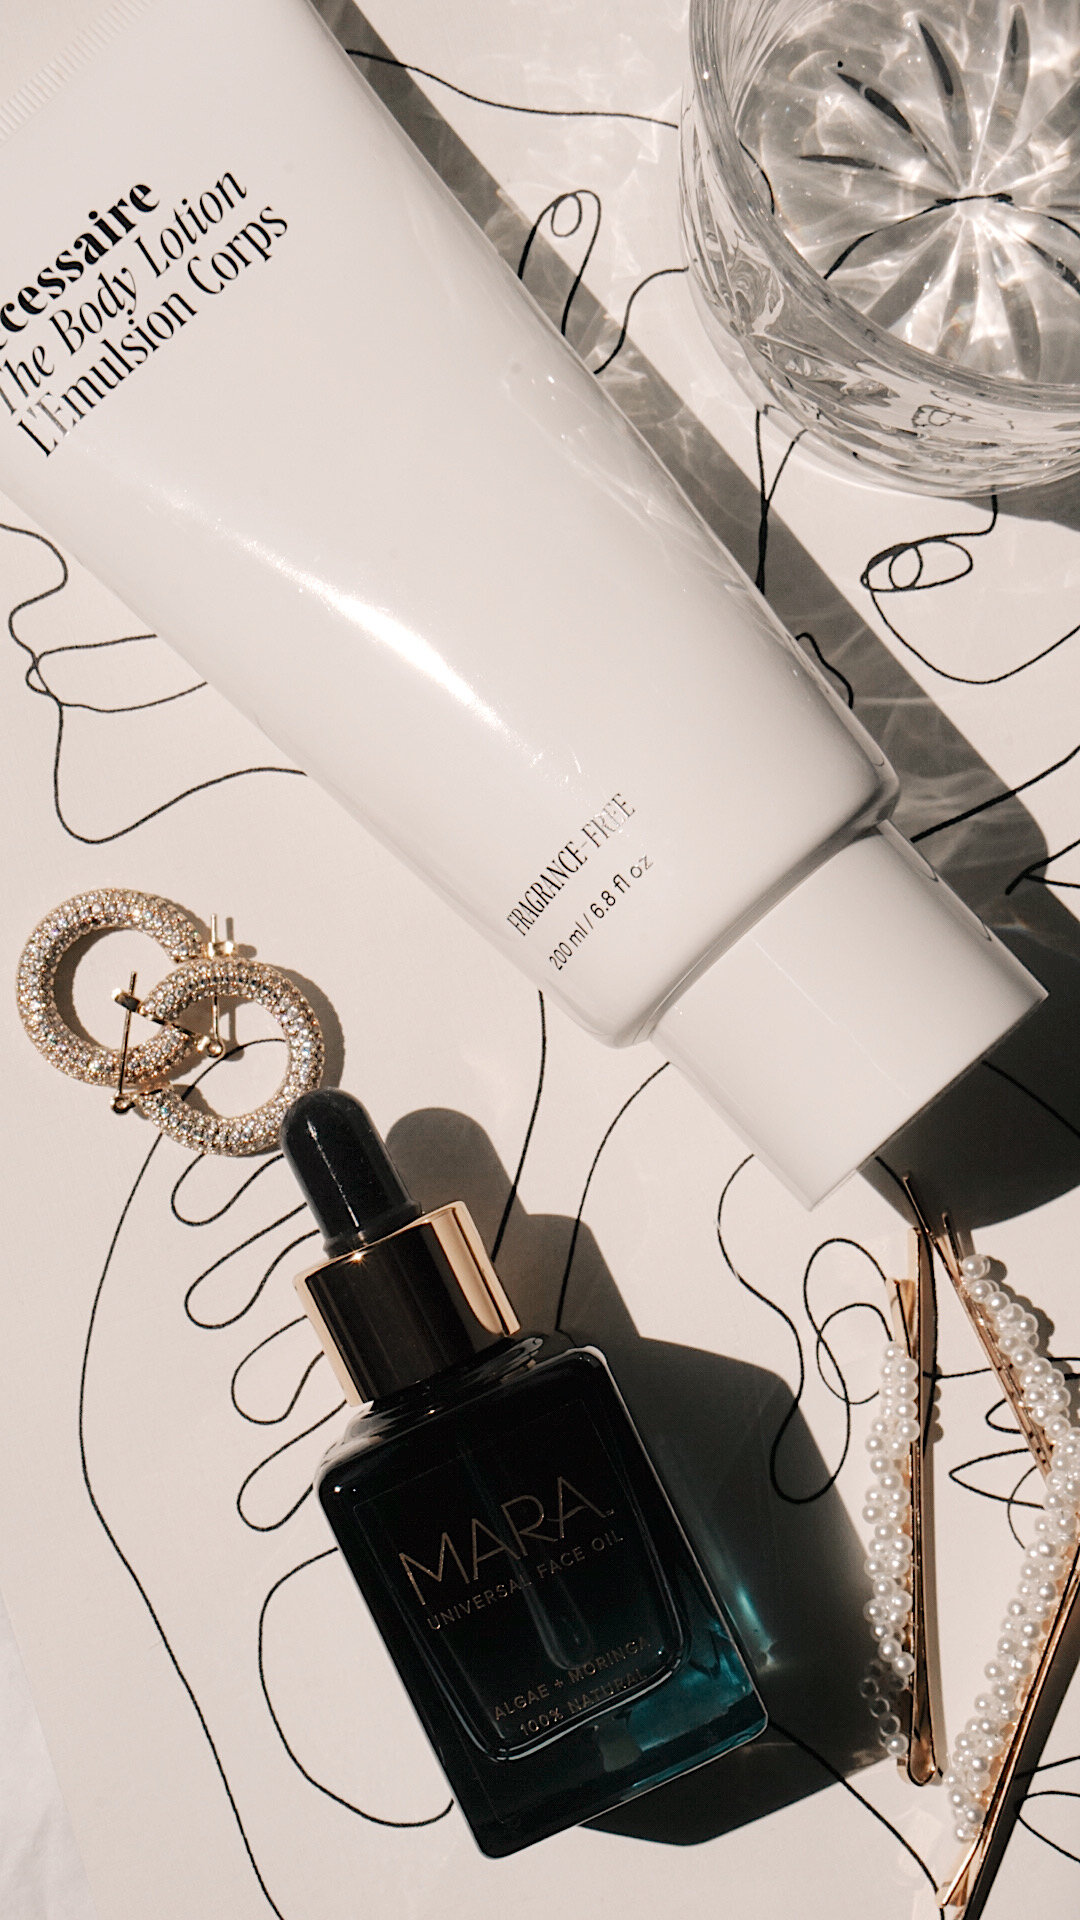
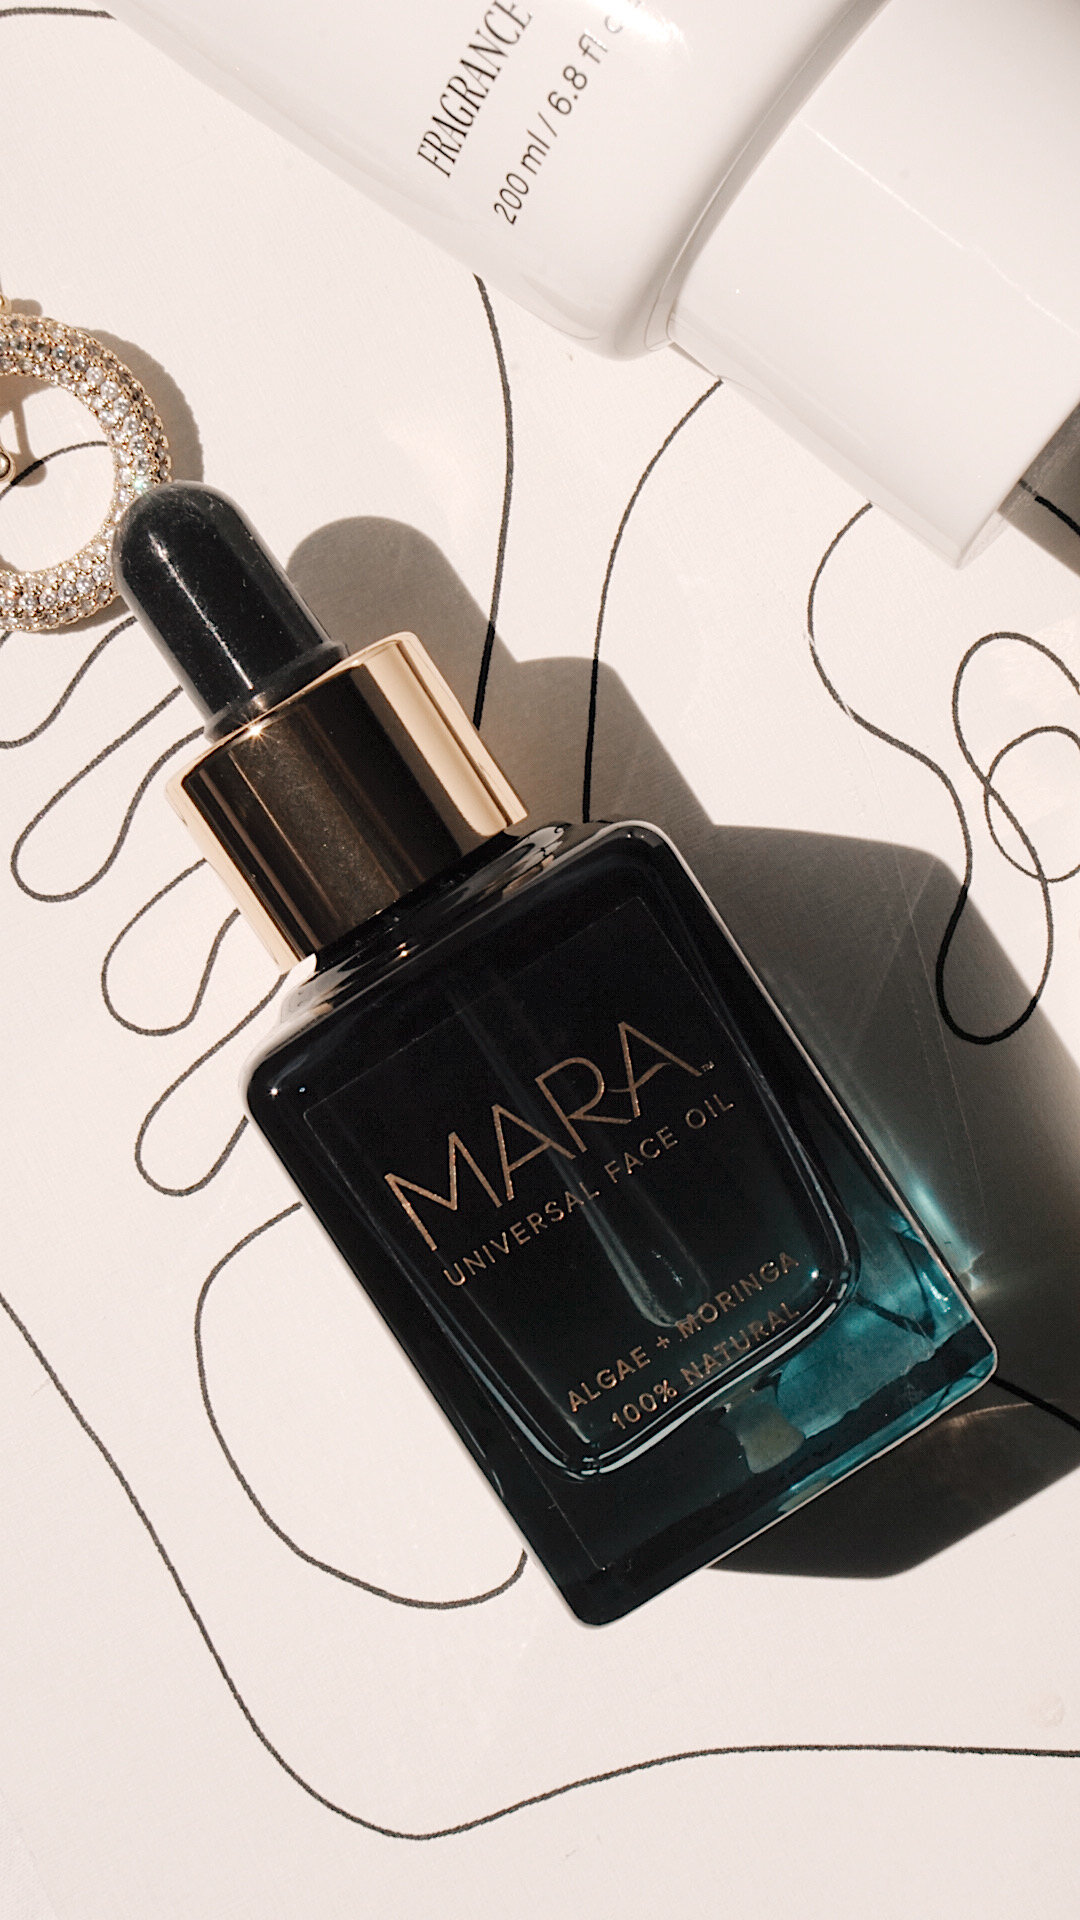
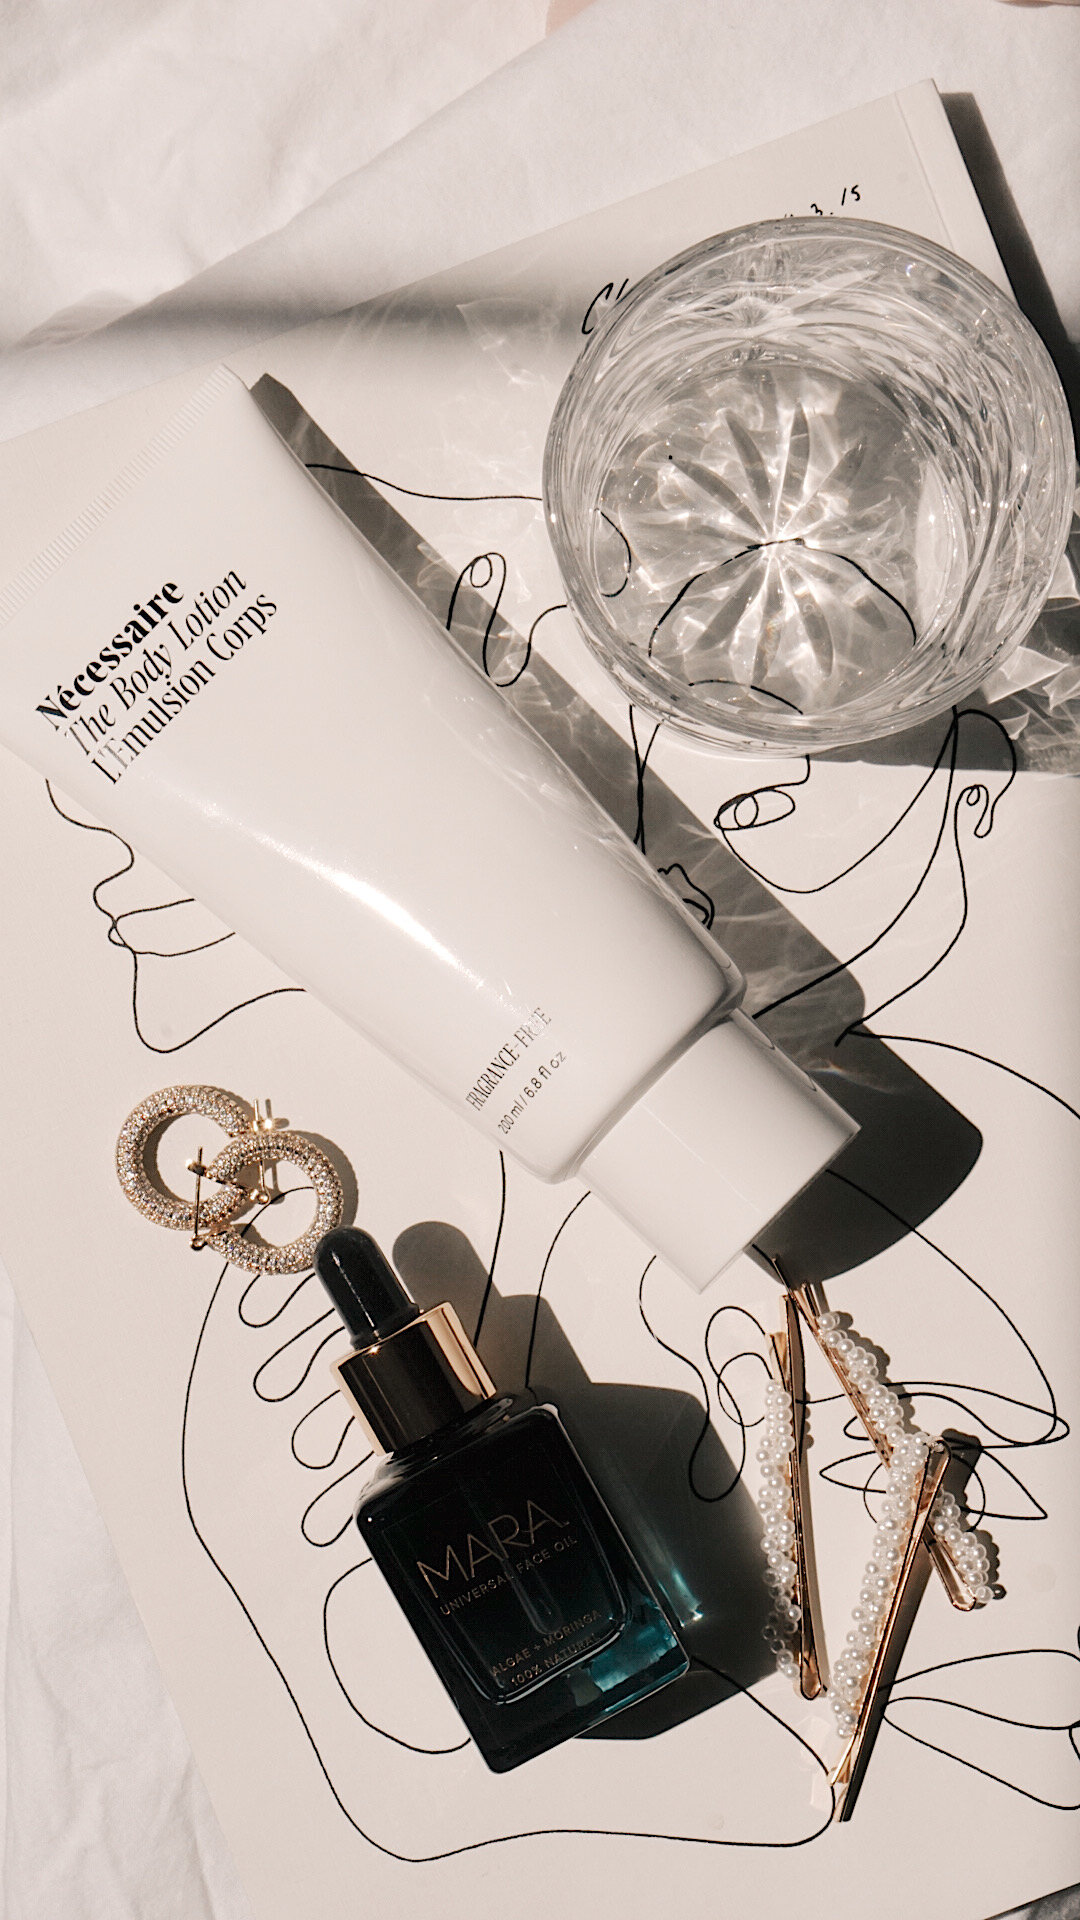
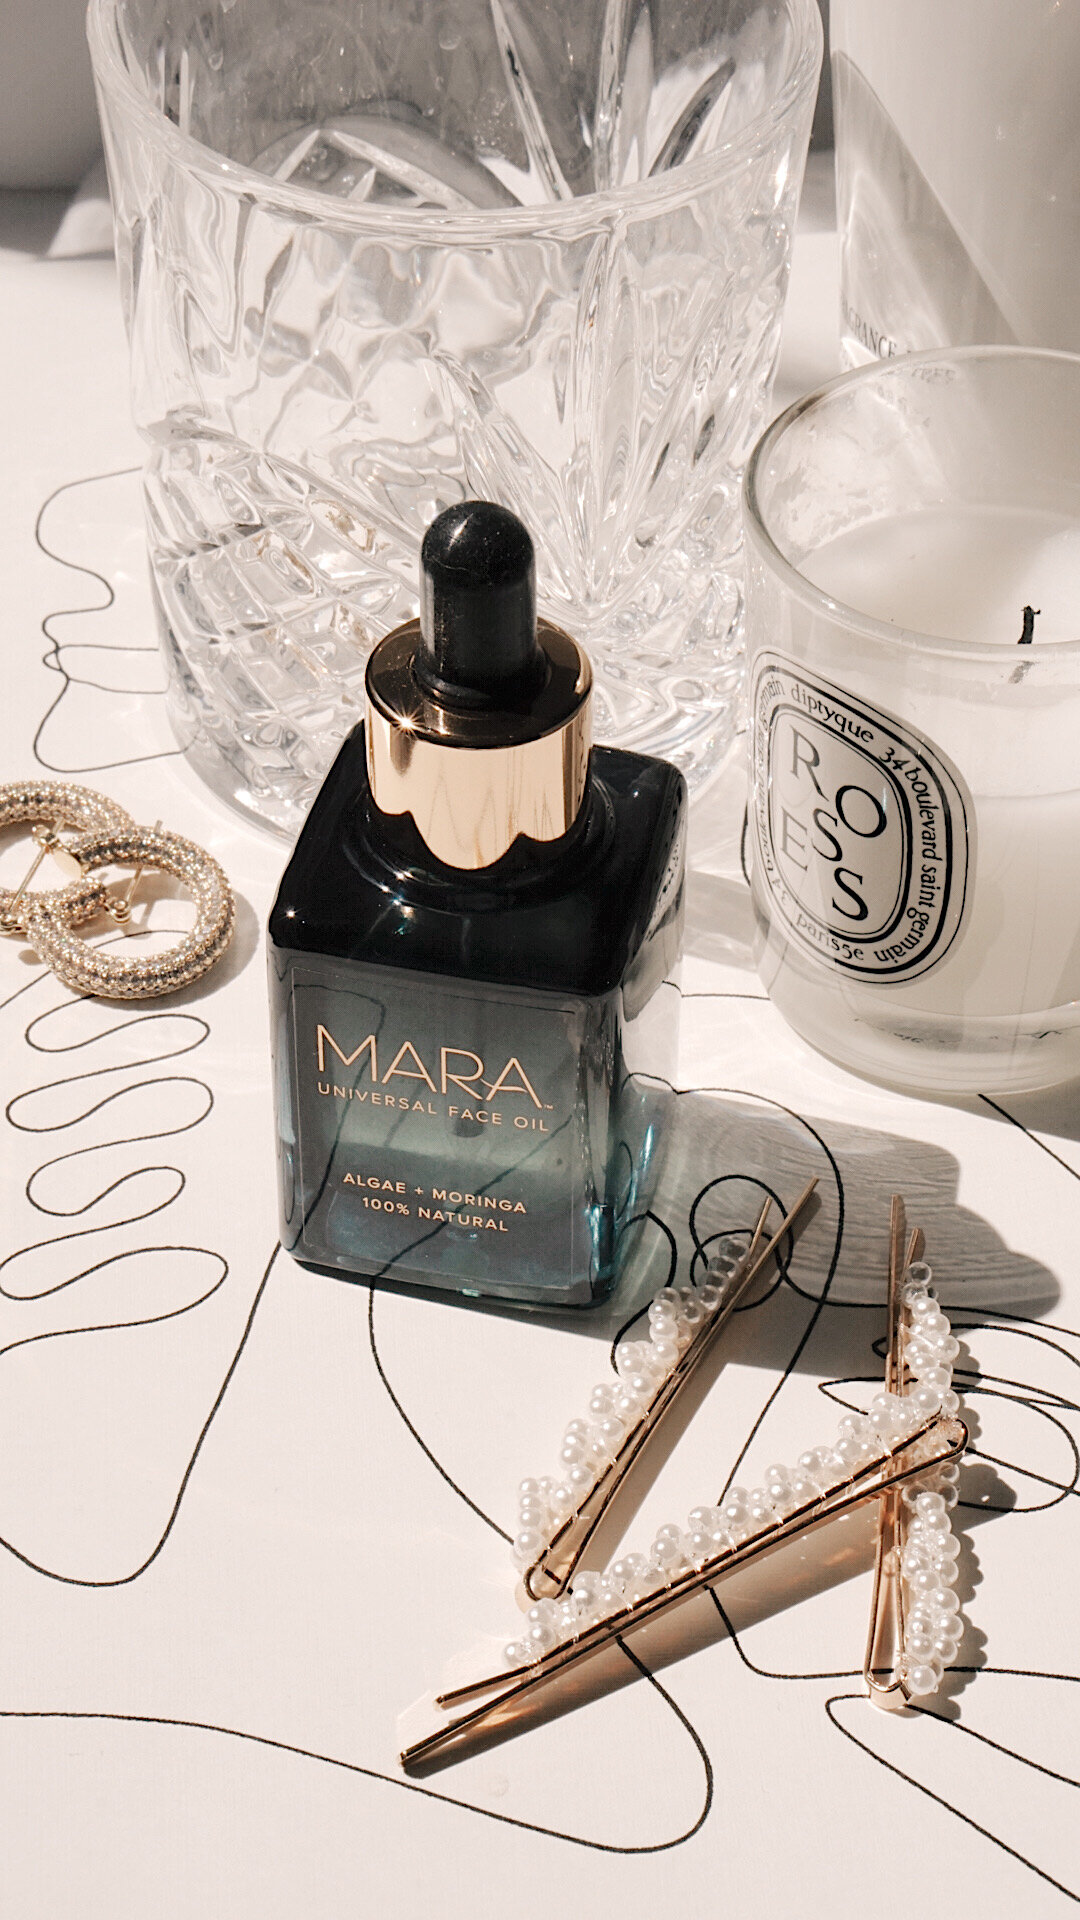
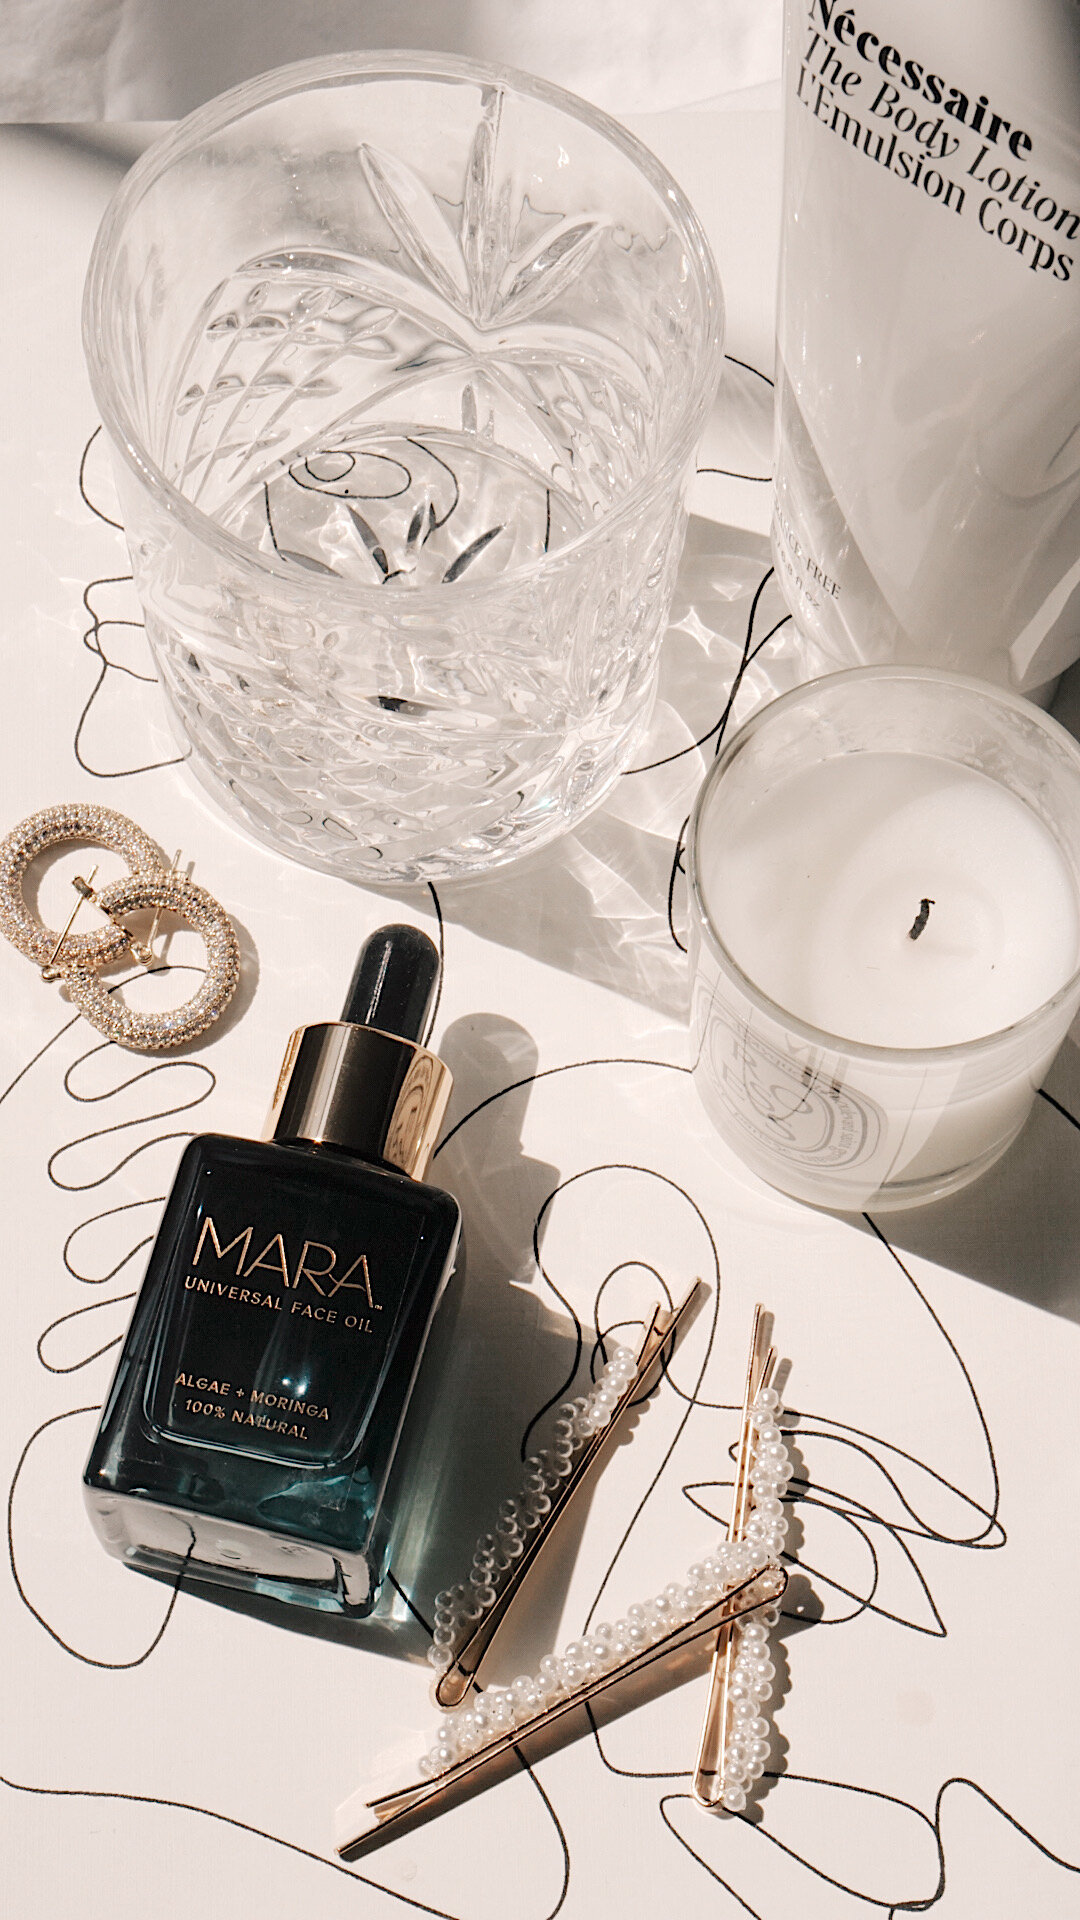
Props
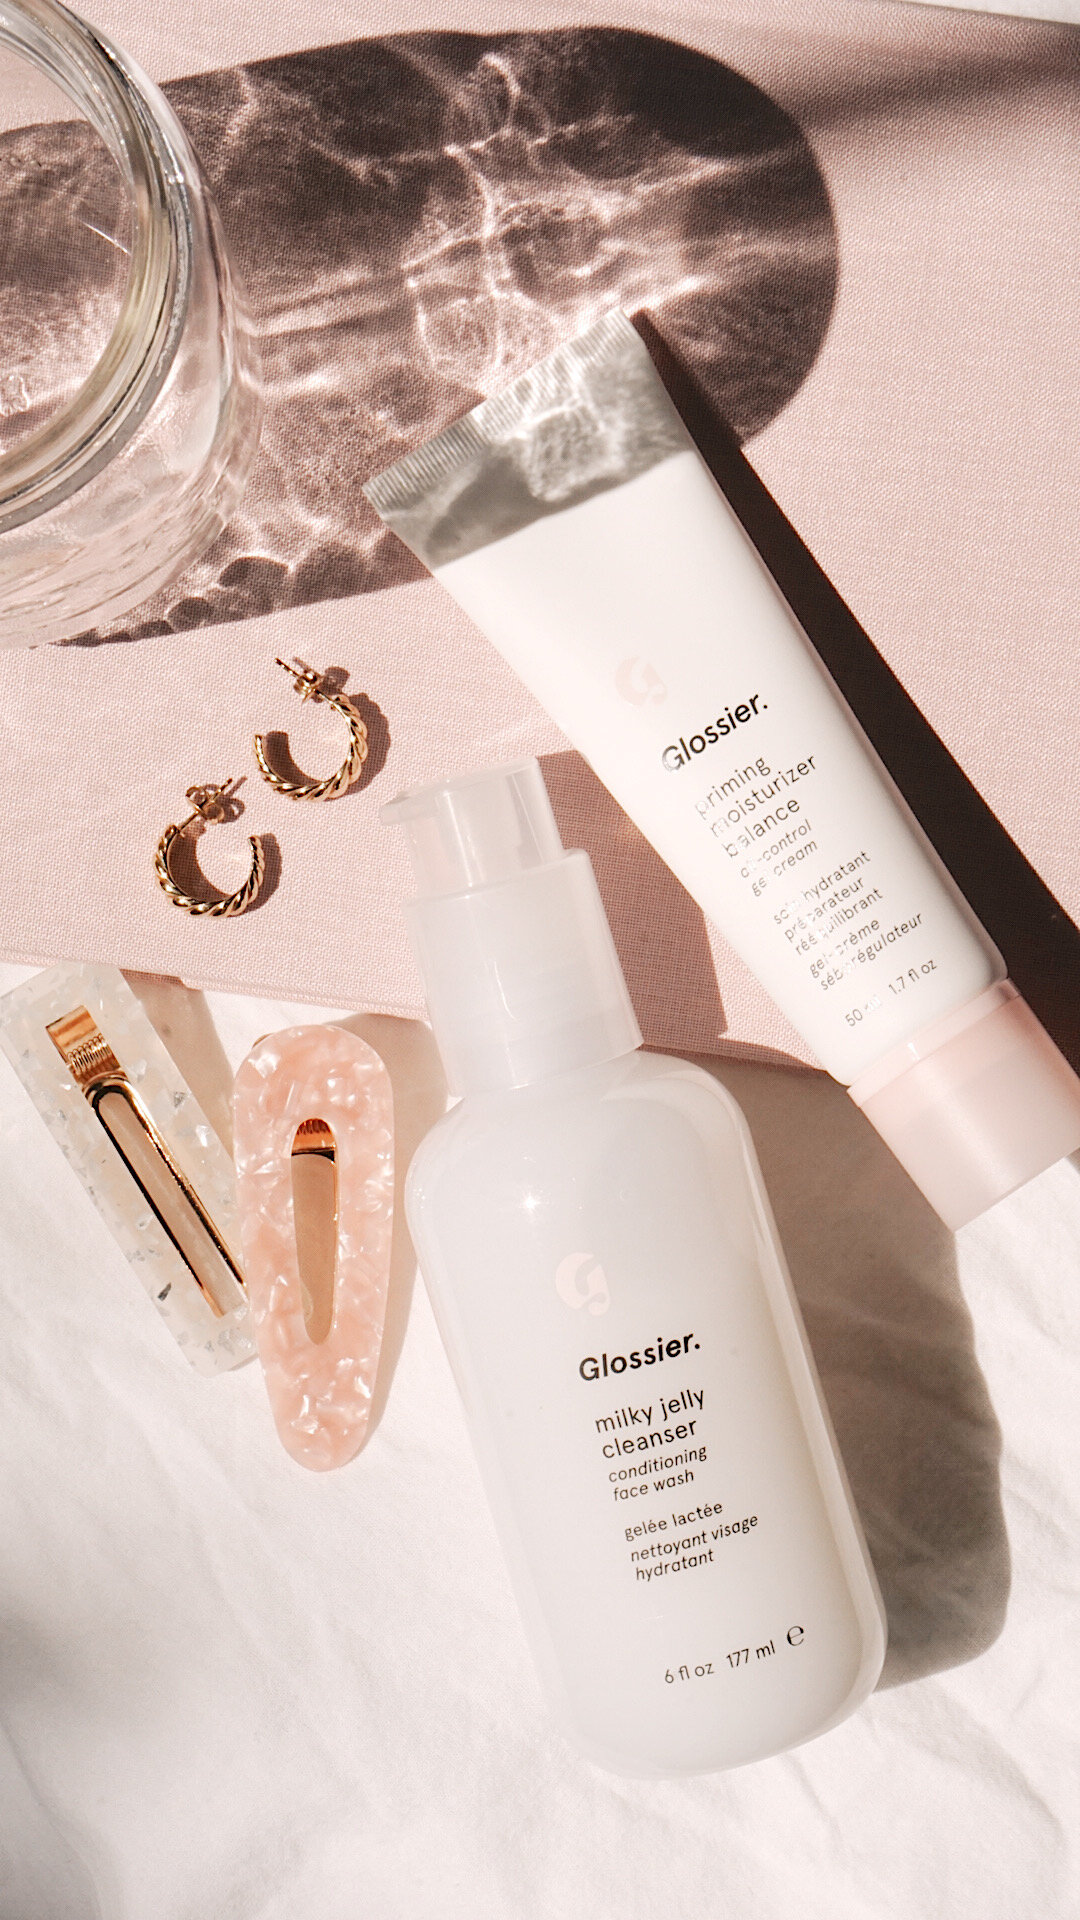
Props are seriously some of my favorite things ever! They add personality to a flat lay and so much interest to it.
Side note: you would not believe how much stuff I have collected over the past two and a half years from when I started creating content!
Thankfully a lot of the props that I’ve purchased also work well as decor around my room or things I can wear or even use as reading material, so they’re multipurpose ( I’d like to think they didn’t go to waste haha)!
Here are a few of my favorite items to use as props:
Hair accessories - scrunchies, hair clips, brushes
Jewelry - I absolutely adore gold hoop earrings and I basically have them in a majority of my photos!
Decorative trays - I’m a sucker for marble, acrylic, glass and pink trays!
Small ceramic vases - can purchase a ton of these at the thrift store or DIY old vases using a little chalk paint
Candles and matches - some of my fave stores to purchase candles are Otherland, Bijou Candles, Boy Smells, and Overose (these are definitely more on the pricier and splurge side.) Affordable alternatives are the Dollar Tree, TJ Maxx, Ross, World Market, etc.
Mirrors
Dried plants - pampas grass, roses, lavender
Books and magazines
Sweaters - gotta love them for their texture
Jeans
Sunglasses
Glass cups, mason jars or mugs
When it comes to choosing props, I try to make sure that they add context to the products I’m trying to highlight. For example, if I’m shooting content to highlight a skincare product, the props I typically use are other similar skincare products with packaging that compliment the main product, dainty earrings, hair accessories and a glass cup.

Styling
When styling a flat lay, I have found that adding texture and layers help add a whole new load of interest to the photo. Again, styling takes a ton of trial and error! So don’t be afraid to try out different styles and methods.
For texture, I absolutely love using a faux fur rug, a sweater, or a textured pillow case and then placing books, magazines, trays, a glass cup or flowers on top of them to add another layer.
Finding balance to your photo also plays a huge role! It can definitely be tricky when it comes to finding the perfect balance to fill empty spaces in your flat lay.
My trick? Trial and error, experiment with the placement of your items until you’re satisfied with how the flat lay looks. Take pictures as you go too! Sometimes I end up loving shots of styles I initially didn’t like!

Lighting
I cannot express how important lighting a flat lay or any photo can be!! If you don’t have the means to purchasing a lighting kit, natural sunlight is going to be your new best friend!
A well lit set ups will always help you out in the long run aka reducing your time with post production (e.g. editing)! Unfortunately my bedroom doesn’t have the best source of natural lighting, so I love setting up by the kitchen window where the sunlight hits perfectly and gets a ton of natural light.
Depending on the type of vibe you are going for, you can either shoot using direct sunlight to help create harsh shadows for a more editorial look or use indirect sunlight for a more airy, natural look.
Tip on how to decrease shadows off of your products/flat lay: use some sort of reflector, whether it would be white poster paper / foam board or a light reflector. A reflector truly does work wonders and you would not believe how much it helps when it comes to reducing shadows.
Unfortunately not everyone is blessed with lots of sunlight in their home. In this case, I would recommend looking into a lighting kit. This is the lighting kit I purchased and still use to this day. Helps immensely with reducing shadows and adding a great deal of brightness for my photos. Plus they also work great as a lamp to brighten up my room and help so much when I’m doing my makeup!
Shooting your flat lay
Time for the fun part! Let’s shoot some content!
I typically like styling my flat lays on the floor so it’s easier to get a birds eye view photo vs styling them on a table and having to stand up on a chair/ladder.
I like taking lots of photos with a few variations from switching out different props to shooting at a different angle because why not? Already spent so much time setting up, might as well get in a few extra shots for future content.
Editing
Just a heads up… I’m no Photoshop or Lightroom expert, but I can definitely tell ya that there are tons of apps that do amazing justice when it comes to editing a photo. Some of my favorite apps to use for editing are Tezza, Retouch, Prequel and so much more. Super easy to use, great filters and you can tweak your crop, exposure, saturation, clarify, HSL, etc.
I hope I didn’t scare ya too much with all of this information!
Trust me, I thought creating and shooting flat lays would be easy peasy, but it really does take a lot of work.
Don’t get discouraged if you can’t get the perfect shot right now. Just keep on practicing and before you know it, it’ll be like second nature to you.
Overtime, you’ll develop an aesthetic, look and feel to your work based on a whole load of factors (e.g. props, styling, lighting, editing) and BAM, you’ve created YOUR distinct style. Just trust the process and practice, practice, practice!